Vermiculture, Vermicomposting, and How to Do It

What’s the Difference Between Vermiculture and Vermicomposting?
Vermiculture is the cultivation or farming of worms, whereas vermicomposting uses the worms to convert organic waste into nutrient-rich compost for plants. Both terms often overlap in their use and are a great way to reduce waste, improve soil health, and create a sustainable gardening practice. This blog post will discuss the basics of vermiculture and vermicomposting, how to set up a worm bin, what materials to use, and how to maintain and harvest the compost.
One of the benefits of vermiculture is that it is a closed-loop system. Worms consume organic material, produce compost, and then use the compost to grow more food for the worms. This creates a sustainable cycle that reduces the amount of waste sent to landfills and improves soil health.
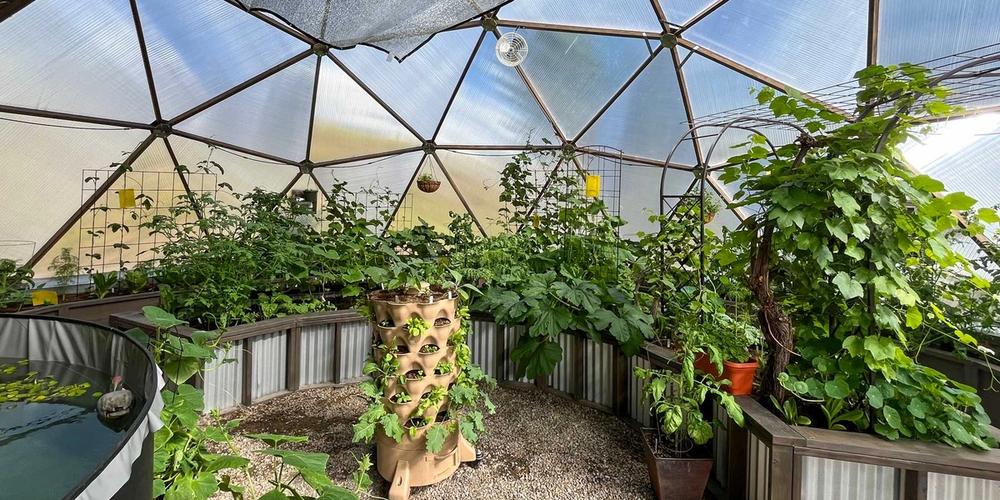
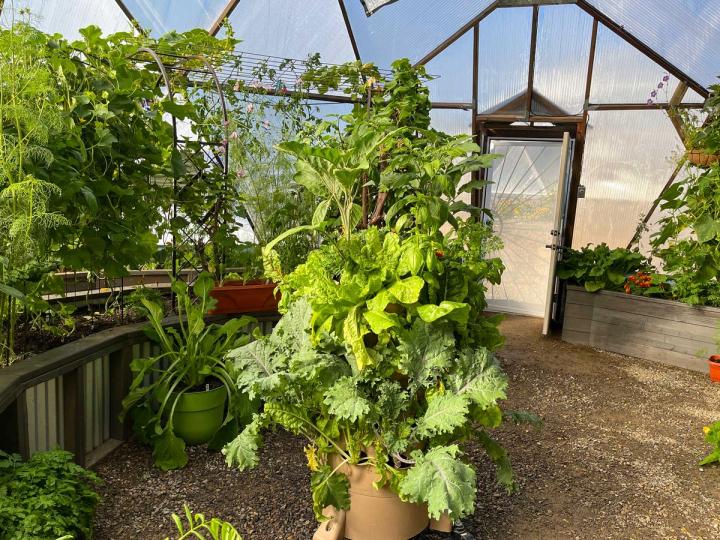
Vermiculture is an excellent option if you are low on room. It can be done in small spaces such as greenhouses or backyards. It is also a great way for schools and community gardens to educate children about composting and reducing waste.
How to do Vermiculture?
Step 1: Setting Up Your Vermicompost Bin
The vermiculture process begins with setting up a worm bin, a container designed to hold the worms and their food. The bin should be made of non-toxic material, such as plastic or wood, and have holes for drainage and ventilation.
The bin size will depend on the amount of waste you plan to compost and the number of worms you will use. A good rule of thumb is to have one square foot of surface area for every pound of waste.
The Subpod
Back in 2023 when this article was originally published, we featured the Subpod. Their availability has changed over the years, and they will soon be back in stock. It was nearly odorless, durable, lockable, and easy to use. Although it also doubled as a seat in your raised beds, on the downside, it took up valuable planting space and could host unwanted pests, like roly polies.
One of the features of the Subpod we liked was that it could be buried directly in the raised beds. This allowed the worms to come and go as they pleased, aerating and depositing their castings directly in the soil—a pretty simple, hands-off solution.
The Subpod makes the practice of Vermiculture in the Growing Dome quick and easy. With the instructions right on the lid, just add your food scraps and worms, turn the contents every now and again, and let the worms do the work! It really is that easy to reduce your waste while benefiting your garden
The Garden Tower® Project
When you purchase through the links below with our partner, Garden Tower, Growing Spaces may receive a commission from qualifying purchases at no additional cost to you.
The vermicompost system we are ‘digging’ now is the Garden Tower. It is a standalone, self-contained unit that can add up to 50 plants in a four-foot square space. Not only do the worms help accelerate the decomposition of your kitchen scraps and support the plants in the Garden Tower, but finished compost, worm castings, and nutrient-rich leachate can be harvested from the bottom of the tower and spread to other beds in your Growing Dome.
Step 2: Choosing the Right Materials
The next step in vermiculture is to choose the right materials to feed your worms. The best materials to use are organic waste, such as kitchen scraps, garden waste, coffee grounds, and crushed eggshells. It is true vermicomposting can be used to break down a wide variety of organic materials, including materials that are difficult to compost using traditional methods. For example, worms can break down meat and dairy products, which are typically not recommended for traditional composting methods. However, we avoid using meats, dairy products, and processed foods, as these can attract pests and create unpleasant odors.
It is also vital to add bedding material to the bin. Standard bedding includes shredded newspaper, cardboard, coconut coir, or straw. The bedding material provides the worms with a moist and dark environment. It is best to layer your scraps and bedding material in a 1:2 ratio. (1) Food scraps are typically high in nitrogen, and (2) bedding materials are lower in carbon. If the balance is off, this can lead to anaerobic behavior, slowing the composting process and causing unpleasant smells. Garden Tower actually recommends a 1:3 ratio of scraps:bedding.
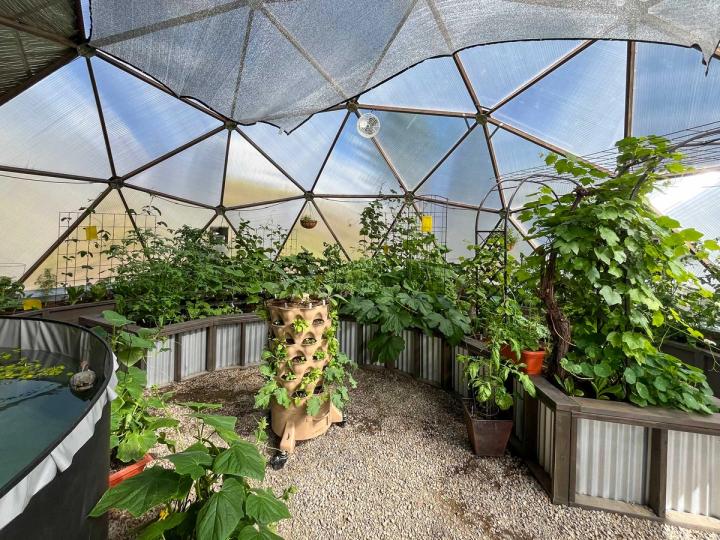
Locating the Bin In the Growing Dome
When setting up your worm bin, it is vital to ensure it is in a location that is out of direct sunlight and has a consistent temperature between 55–77ºF.
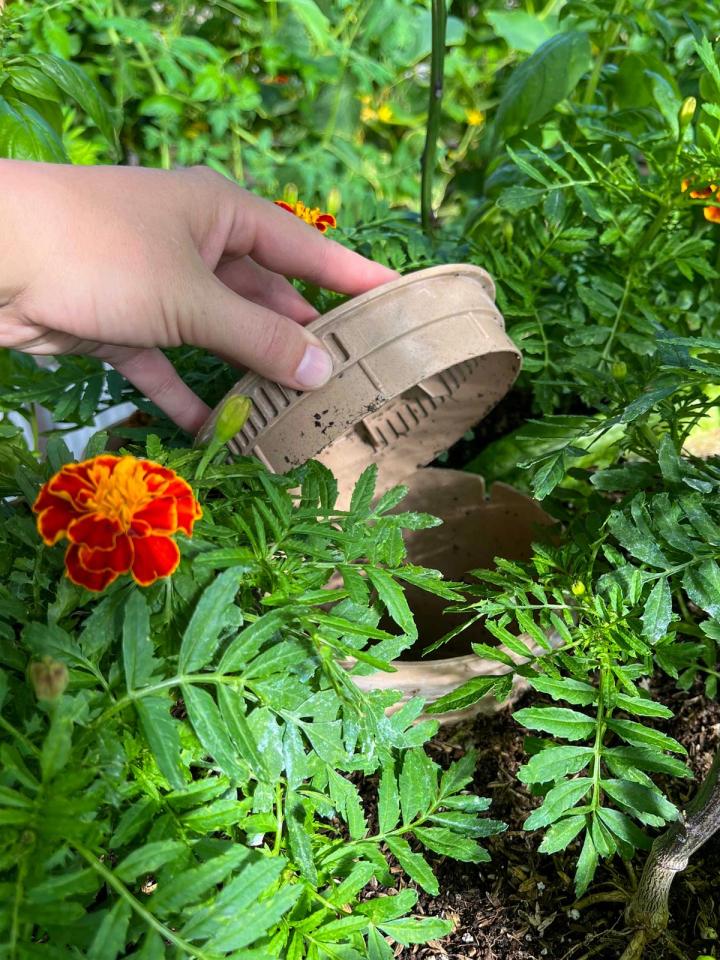
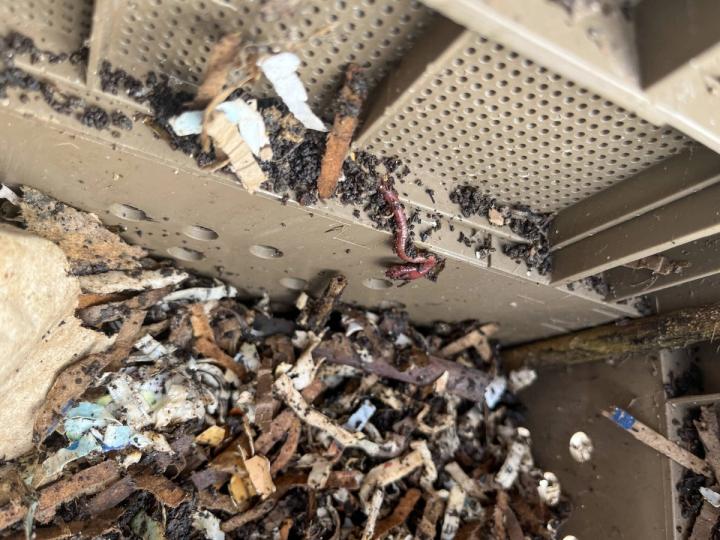
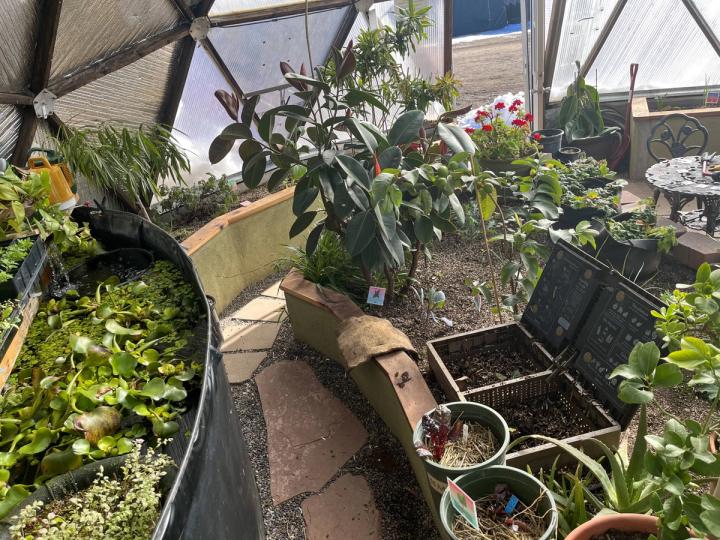
If you’re going to DYI a vermiculture system directly in your beds, ideal locations include the center bed or the perimeter bed on the northeast or northwest close to the above-ground pond. The pond provides the most regulated temperatures in the Dome, and the shade of the Reflectix in the summer months will help to keep the bin out of direct sunlight. The unit should be buried, covering the larger “worm flow” holes and leaving the smaller “airflow” holes exposed. Also, make sure to leave about 2 inches between the unit and the inside edge of the raised bed so that the worms and air can move around properly.
The Garden Tower has a caster wheel kit option, so it can be moved more easily around your Dome as you wish depending on your flooring and space available. It also rotates easily, without the casters, if you decide the plants need more even light.
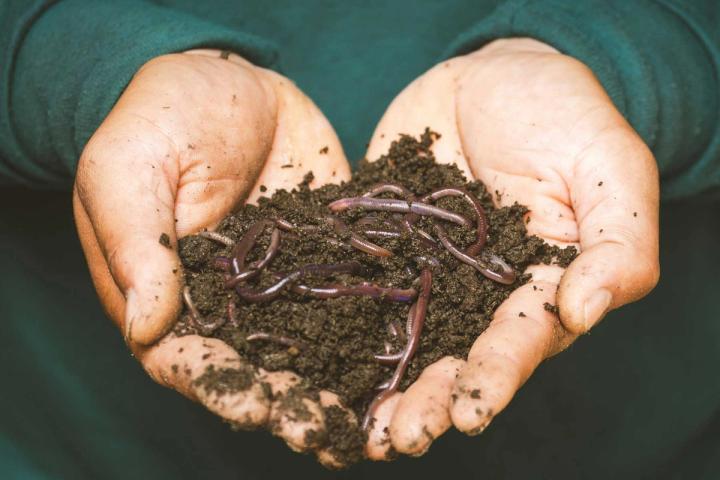
Step 3: Adding the Worms
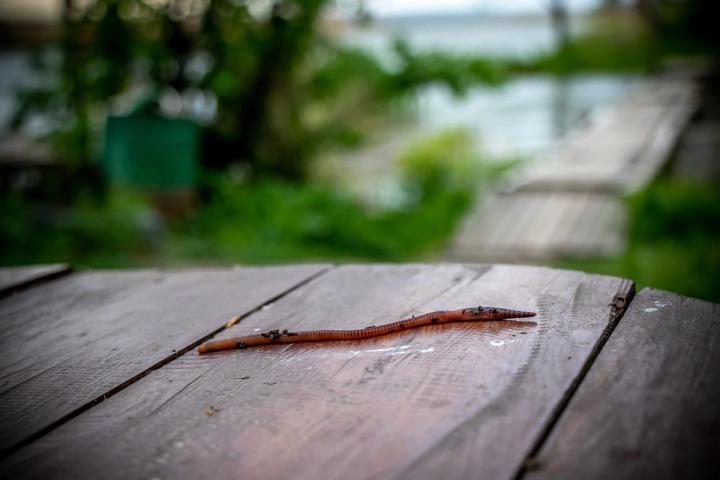
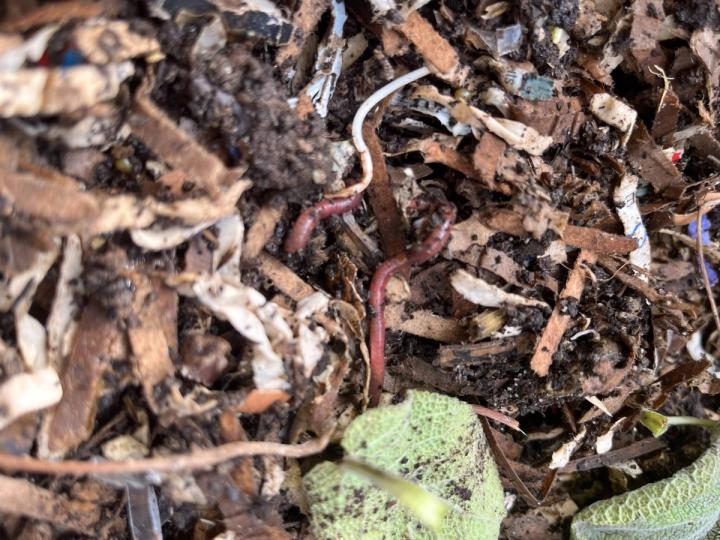
After your worm bin is filled with suitable materials, it’s time to add the most important part. The worms! A good rule of thumb is to start with one pound of worms for every square foot of surface area in your bin. The most commonly used worms for vermiculture are red wigglers (Eisenia fetida), which can be purchased from worm farms or online retailers. We get our worms from Uncle Jim’s Worm Farm as recommended by Garden Tower. When you purchase the tower, it comes with a coupon discount!
When adding the worms to the bin, it is important to make sure they are well-distributed throughout the bin. This can be done by gently shaking the worms into the bin or using a spoon to bury them in the bedding material. In the Garden Tower, add them directly to the compost column with the bedding materials and food scraps.
Step 4: Maintaining the Worm Bin
Once your worm bin is set up, it is important to maintain it properly. This includes keeping the bin moist but not too wet. The bedding material should be damp but not soggy. Your worms will appreciate a happy medium.
It is also important to monitor the pH level of the bin. The ideal pH range for vermiculture is between 6 and 7. If the pH level is too low, you can add lime to the bin; if it is too high, you can add sulfur.
Another important aspect of maintaining the worm bin is to feed the worms regularly. Start by adding small amounts of food scraps to the bin and gradually increase the amount as the worms begin to consume it. It is important to avoid overfeeding the worms, as this can cause the bin to become too wet and attract pests. Stirring the bin materials is also beneficial for adding oxygen and allowing worms to access other material that hasn’t been broken down yet. The Garden Tower takes a lot of the guesswork out of the process. Simply add your kitchen scraps and bedding material to the compost column.
Step 5: Harvesting the Compost
After several months of vermicomposting, the worms will have converted the organic waste into nutrient-rich compost. Harvest the compost by removing it from the bottom of the bin where the worms have been working. The worms will naturally migrate. You can simply add these “worm castings” to your garden bed’s top layer. Some people brew worm-casting tea to water their gardens, which will quickly reach the plant’s roots for immediate benefits. With the Garden Tower, the water that filters to the bottom creates a leachate composed of compost drainage and minerals and nutrients that have percolated through the soil. It makes its own tea!
Vermiculture is a sustainable and efficient method of composting that can be done in small spaces and has a wide range of benefits. It is a great option for those who want to reduce their waste and improve soil health, and it is also a fun and educational activity for children. If you’re interested in starting your own vermiculture project and have questions, contact us.
Originally authored by Kenzie Jackson • February 10, 2023 • updated October 21, 2024 by Laura Dollar
Share This

I studied marketing at Eastern Illinois University and have been working as the Marketing Director at Growing Spaces since May 2019. What I love most about my job is getting to tell the stories of our customers in our featured dome articles. It’s all about connecting through storytelling, and it’s pretty cool to see all the different ways people use our greenhouses.
Subscribe to Our Newsletter
Join our community to stay up to date
Featured Categories
Downloads

Please Subscribe to Our Newsletter! :-)
Please Join our community to stay up to date :-)